Headlight Restoration: The $18 Oxidation Removal Protocol
Yellowed, hazy headlights aren't just ugly — they're a safety hazard and a failed inspection waiting to happen. Get the exact wet sand progression and UV sealant protocol that restores clouded lenses to optical clarity for under $20, no shop visit required.
THE DETAIL
6 min read
Your headlights are not yellowing because they are old. They are yellowing because the factory UV-protective coating that sits on top of the polycarbonate lens has failed, and the raw plastic underneath is now oxidizing every single day under direct sunlight exposure. Once that protective layer breaks down, the degradation accelerates. What starts as a light haze becomes a thick, chalky yellow crust that scatters your beam pattern across the road instead of projecting it forward.
A detail shop will charge $80 to $150 to fix this. A dealership will suggest a full lens replacement at $200 to $400 per side. Neither of those is necessary. The polycarbonate itself is not damaged — just the surface coating. This means it can be mechanically restored using a progressive wet sand sequence and resealed with a fresh UV barrier for under $20 in materials and one hour of your time.
Phase 1: Oxidation Diagnostics & Surface Preparation
Before touching the lens, you need to understand the severity of the oxidation you are dealing with. The restoration process is the same regardless of severity — but the number of sanding passes required at each grit stage varies based on how deep the damage runs.
The Oxidation Assessment: Run your finger firmly across the headlight lens. Light oxidation feels slightly rough with visible surface haze but retains some clarity underneath. Moderate oxidation feels chalky and leaves a yellow residue on your fingertip. Severe oxidation has a thick white or yellow crust that is fully opaque. Light and moderate oxidation are fully restorable with this protocol. Severe cases require additional passes at the lower grits before progressing.
The Masking Protocol: This step is non-negotiable before any wet sanding begins. Use automotive masking tape to create a clean border around the entire headlight lens, covering all adjacent painted panels, bumper fascia, and trim. Wet sandpaper on bare paint will induce deep scratches that require a full paint correction to fix. Take 5 minutes here to mask properly. A 3-inch border on all sides is the minimum — wider is always better.
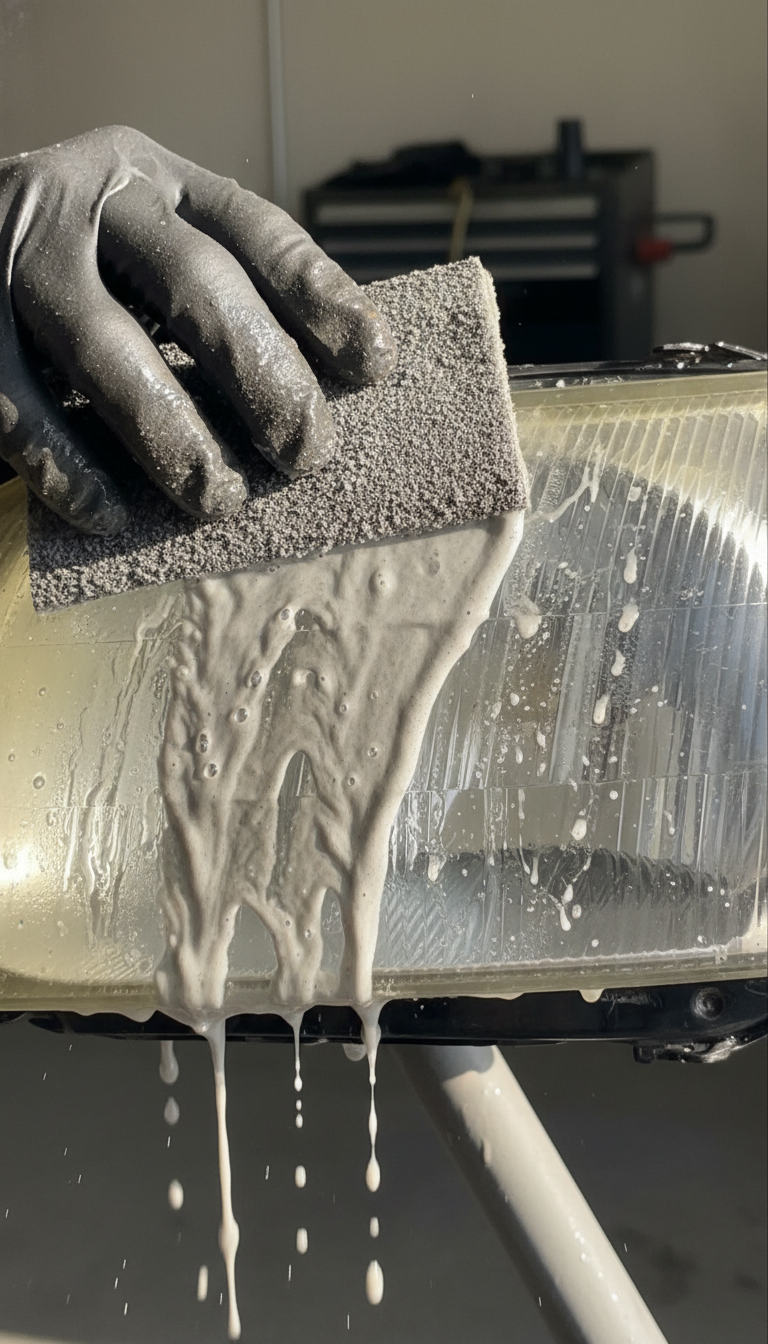
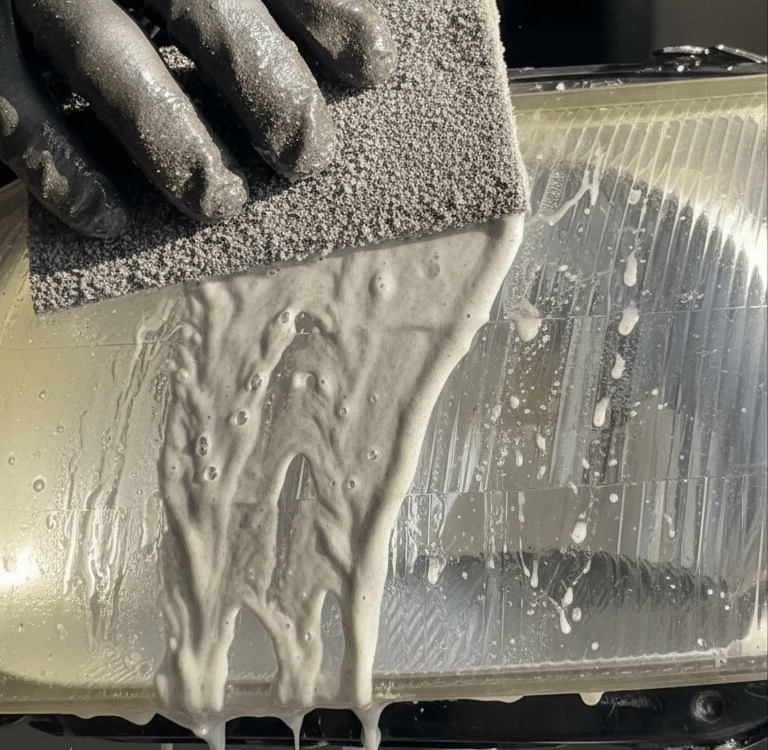
The Lens Degloss: Before beginning the wet sand progression, spray the lens surface with a light mist of water and give it a single pass with the coarsest grit in your kit. This initial degloss pass removes the failed UV coating and the top layer of oxidation, establishing a clean, uniformly scratched baseline for the progressive sanding sequence to work from. The lens will look significantly worse after this step — that is exactly correct.
Phase 2: The Wet Sand Progression
The goal of wet sanding is to remove oxidation damage through a sequence of progressively finer abrasive grits, with each stage removing the scratch pattern left by the previous one. Skipping a grit or rushing through a stage leaves deep scratches in the lens that the next grit cannot fully remove, resulting in a hazy finish even after polishing. Patience at each stage is what separates a professional result from a mediocre one.
The Water Management: Keep the lens and sandpaper continuously wet throughout every stage. Use a spray bottle to re-wet the surface every 20 to 30 seconds. Dry sanding generates heat that melts and smears the polycarbonate rather than cutting it cleanly. The water also acts as a lubricant that floats the removed material off the surface rather than letting it accumulate and re-scratch the lens.
The Sanding Technique: Wrap each piece of sandpaper around a firm foam sanding block. Never hold sandpaper flat in your palm — without a backing block, finger pressure creates uneven contact that leaves low spots and ripples in the lens surface. Use straight, overlapping horizontal strokes for all passes. Keep consistent, light pressure. Let the abrasive do the work. After completing horizontal passes, rotate to vertical strokes before moving to the next grit — this cross-hatch pattern confirms even coverage before progressing.
The Grit Sequence:
400 grit — The oxidation removal stage. Sand until the entire lens surface is uniformly scratched and all yellowing and chalky oxidation is gone. The lens will be completely opaque and white at this stage. This is the longest and most physically demanding stage. Do not rush it.
800 grit — The scratch refinement stage. Sand until all 400 grit scratches are replaced by the finer 800 grit pattern. The lens will begin to show the first hints of translucency returning. Wipe clean and inspect before progressing.
1500 grit — The clarity restoration stage. The lens will transition from opaque to visibly semi-clear at this stage. All 800 grit scratches must be fully replaced before moving on. Wipe and inspect.
2000 grit — The pre-polish refinement stage. The lens should appear nearly clear at the end of this stage with only a very light surface haze remaining. If deep scratches from earlier grits are still visible, return to the appropriate stage rather than attempting to cut through them with 2000 grit.
The Polish Pass: After completing the 2000 grit stage, apply a small amount of automotive plastic polishing compound to a clean foam applicator pad. Work the compound into the lens using firm circular motions, then switch to straight-line passes. The compound removes the final micro-scratches left by the 2000 grit and brings the lens to optical clarity. Wipe clean with a microfiber towel and inspect the lens under direct light. The surface should be completely clear with zero visible scratches. If haziness remains, repeat the polish pass before proceeding.
Phase 3: UV Sealant Deployment
This is the step that every $12 headlight restoration kit sold at a hardware store skips — and it is the reason those results fail within 3 to 6 months. The polycarbonate lens has zero UV resistance on its own. Without reapplying a UV-protective barrier over the freshly restored surface, the oxidation process restarts immediately and you will be sanding again before the end of the year.
The Surface Wipe-Down: Before applying any sealant, wipe the restored lens thoroughly with an isopropyl alcohol solution to remove all polishing compound residue, water spots, and surface oils. Any contamination under the UV coating will cause adhesion failure and premature yellowing. Allow the lens to dry completely before proceeding.
The UV Clear Coat Application: Apply the UV-resistant automotive clear coat in thin, even passes from approximately 8 to 10 inches away from the lens surface. Two thin coats always outperform one thick coat. A thick single application runs, sags, and cures unevenly, creating a cloudy, orange-peel texture over the lens. Apply the first coat, allow it to flash for the time specified on the product label, then apply the second coat in the opposite direction for even coverage.
The Cure Protocol: Do not touch, drive, or expose the freshly coated lenses to rain or direct sunlight for a minimum of 1 hour after the final coat. Full hardness and UV protection require a 24-hour full cure. If possible, perform this step in the evening so the vehicle sits overnight before its first exposure to sunlight. Once cured, remove the masking tape slowly at a 45-degree angle to avoid pulling the fresh coating at the lens edge.
The Result Inspection: Under direct light, the restored lens should exhibit full optical clarity, a smooth surface with no orange peel or haziness, and a uniform finish that matches the original factory appearance. The UV coating will protect the lens for 1 to 2 years under normal driving conditions. When you notice the first signs of surface haze returning — typically a very light dulling rather than full yellowing — a single 2000 grit pass and polish is all that is needed to restore clarity before reapplying the UV coat. You will never need to repeat the full 400 grit progression again on a properly maintained lens.
The Expert Gear List
To execute this complete headlight restoration protocol, our team deploys the following professional-grade hardware and chemistry. All items are available on Amazon.
Disclosure: The Retrofit Routine is a participant in the Amazon Services LLC Associates Program. As an Amazon Associate, we earn from qualifying purchases at no additional cost to you.
Surface Preparation & Masking
3M Automotive Masking Tape: The mandatory barrier between your sandpaper and your vehicle's paint. A clean masking job protects adjacent panels from accidental abrasion during the wet sand progression. Do not substitute with standard painter's tape — automotive masking tape is formulated to remove cleanly without leaving adhesive residue on painted surfaces.
Wet Sanding
AutKerige Micro Detail Sander Paper Kit, 70-Piece (400/600/800/1000/1500/2000/3000 Grit): A complete wet/dry sandpaper kit with a built-in hand sanding block and hook-and-loop sanding strips that covers the full 4-stage grit progression required for this protocol — 400, 800, 1500, and 2000 grit. The included sanding block is the critical component here — without even backing pressure behind the sandpaper, hand pressure creates uneven contact that leaves ripples and low spots in the lens surface. At 70 pieces you have more than enough material for multiple full restorations without reordering.
Polishing & Compound
Meguiar's PlastX Clear Plastic Cleaner & Polish: A plastic-specific polishing compound formulated to remove the final micro-scratch pattern left by 2000 grit sandpaper and restore full optical clarity to polycarbonate lenses. Applied by hand with a foam applicator, it brings the lens to a factory-clear finish before UV sealant application.
UV Protection
Rust-Oleum Wipe New Headlight Restore Kit: A UV-blocking automotive clear coat specifically engineered for polycarbonate headlight lenses. Applied after the wet sand and polish sequence, it deposits a hardened UV-resistant barrier that prevents oxidation from restarting on the freshly restored surface. The kit includes application wipes for a controlled, even deployment without overspray risk.
Contact
Questions? Reach out anytime, we’re here.
© 2026. All rights reserved.
Disclosure
The Retrofit Routine is a participant in the Amazon Services LLC Associates Program. As an Amazon Associate, we earn from qualifying purchases at no additional cost to you.
The Retrofit Routine is a digital property owned and operated by Atlantic Delivery Drivers Corp.