Lumen Optimization: The Fixture Retrofit Protocol
Stop relying on outdated builder-grade lighting. Learn the electrical protocol to swap legacy fixture for modern LED grids and systematically optimize your room’s visual footprint.
THE RETROFIT
2 min read
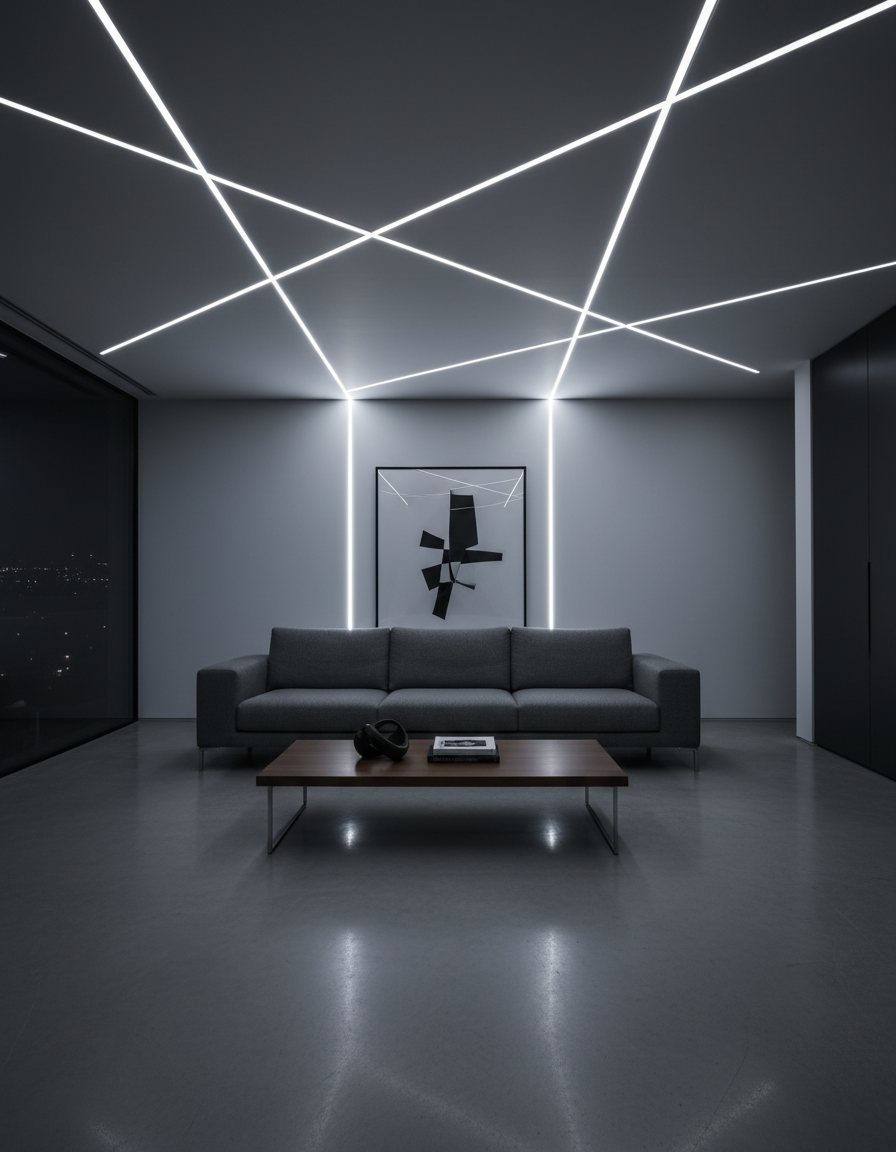
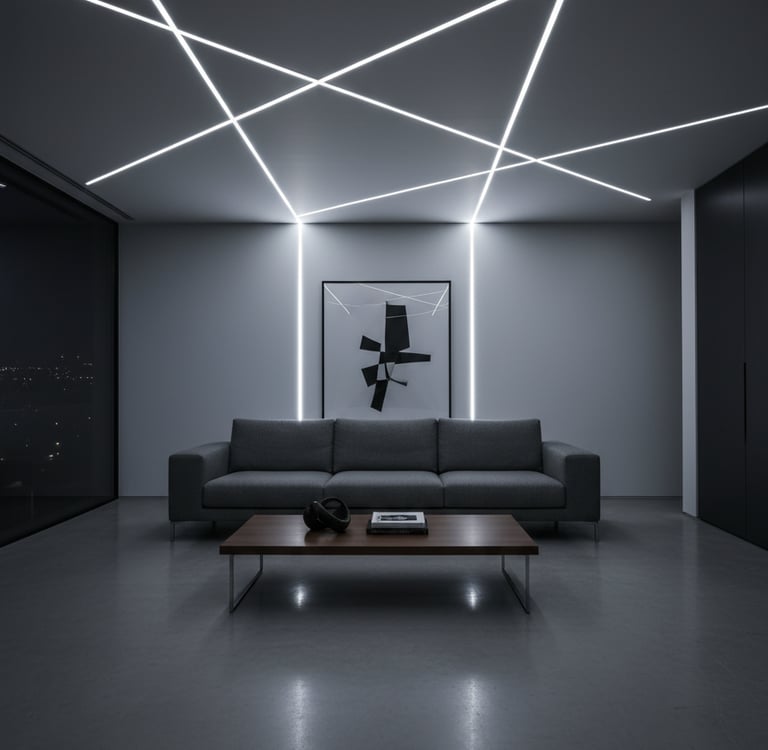
Lighting dictates the entire operational mood of a space, yet most builder-grade architecture relies on visually dead, flush-mount dome lights outputting a harsh, inefficient yellow glare. Upgrading your localized overhead grid is one of the highest-impact cosmetic logistics you can execute without triggering a full demolition. By replacing legacy fixtures with modern, slim-profile LED hubs and standardizing your Kelvin color temperature, you instantly modernize the room's aesthetic while drastically reducing the electrical load. This is a rapid-deployment, one-hour visual overhaul that requires zero painting, zero drywall patching, and minimal capital overhead. To achieve a flawless, modern finish, you must execute the Lumen Optimization Protocol: a safe, systematic electrical swap that completely re-engineers your home's optical output.
Phase 1: Grid Isolation and Safety Verification
Working with residential electricity requires a strict zero-trust policy. You cannot assume a circuit is dead just because the wall switch is down.
The Breaker Lockout: Bypass the local wall switch entirely. Go to your main electrical panel and physically isolate the specific lighting circuit by flipping the breaker.
The Voltage Audit: Before touching any copper, probe the existing fixture's wiring harness with a non-contact voltage tester. This is a mandatory diagnostic step to verify the electrical grid is completely dead and safe for physical manipulation.
The Extraction: Remove the legacy glass dome, back out the mounting bracket screws, and carefully untwist the old wire nuts to free the outdated fixture from the ceiling box.
Phase 2: Modern Hardware Integration (The Wago Upgrade)
Legacy twist-on wire nuts are an outdated technology prone to failure under vibration or poor installation. Modernization requires upgraded connection points.
The Wire Prep: Inspect the ceiling wires. If the exposed copper is oxidized, brittle, or scored, use professional strippers to cut it back and expose a fresh 1/2-inch of clean, highly conductive metal.
The Lever-Nut System: Discard the old twist nuts entirely. Integrate Wago lever-nuts to splice the new LED fixture wires to the house grid. These commercial-grade, transparent connectors lock the copper down with a mechanical lever, ensuring a flawless, pull-proof electrical connection in seconds with zero guesswork.
Phase 3: Kelvin Standardization and Execution
The physical installation is only half the system; calibrating the light output completes the aesthetic upgrade.
The Thermal Selection: Modern LED units feature selectable color temperatures. Set the toggle switch on the back of the unit to your specific zone requirement: 3000K (Warm White) for relaxed living spaces, or 4000K (Cool White) for high-visibility task areas like kitchens and workstations.
The Flush Mount: Tuck the Wago connectors neatly into the ceiling junction box. Secure the ultra-thin LED mounting bracket to the drywall and lock the new fixture into place. Restore power at the main breaker and verify the optical upgrade.
The Expert Gear List
To execute this electrical modernization safely and efficiently, our team utilizes the following professional-grade hardware on Amazon.
Disclosure: The Retrofit is a participant in the Amazon Services LLC Associates Program. As an Amazon Associate, we earn from qualifying purchases at no additional cost to you.
Diagnostics & Safety
Klein Tools Non-Contact Voltage Tester Pen: Mandatory zero-trust diagnostic tool to visually and audibly verify a dead circuit before touching bare copper.
Klein Tools Wire Cutter and Stripper: Precision-ground hand tool for clean, un-scored copper stripping without damaging the core wire.
Hardware & Integration
Wago 221 Lever-Nuts (Assorted Pack): The modern gold standard for splicing. Transparent, mechanical lever-nuts that completely replace outdated twist-on connectors.
TALOYA Flush Mount LED Ceiling Light: Ultra-slim, selectable-Kelvin optical hub that mounts flush to the drywall to eliminate the outdated dome aesthetic.
Contact
Questions? Reach out anytime, we’re here.
© 2026. All rights reserved.
Disclosure
The Retrofit Routine is a participant in the Amazon Services LLC Associates Program. As an Amazon Associate, we earn from qualifying purchases at no additional cost to you.
The Retrofit Routine is a digital property owned and operated by Atlantic Delivery Drivers Corp.