Paint Correction: The Swirl Mark Removal & Machine Polish Protocol
Swirl marks and light scratches are not permanent — they are just clear coat damage sitting above the paint. Get the exact dual action polisher, compound progression, and finishing polish protocol to remove surface defects and restore deep gloss to your paint before sealing it for the season.
THE DETAIL
6 min read
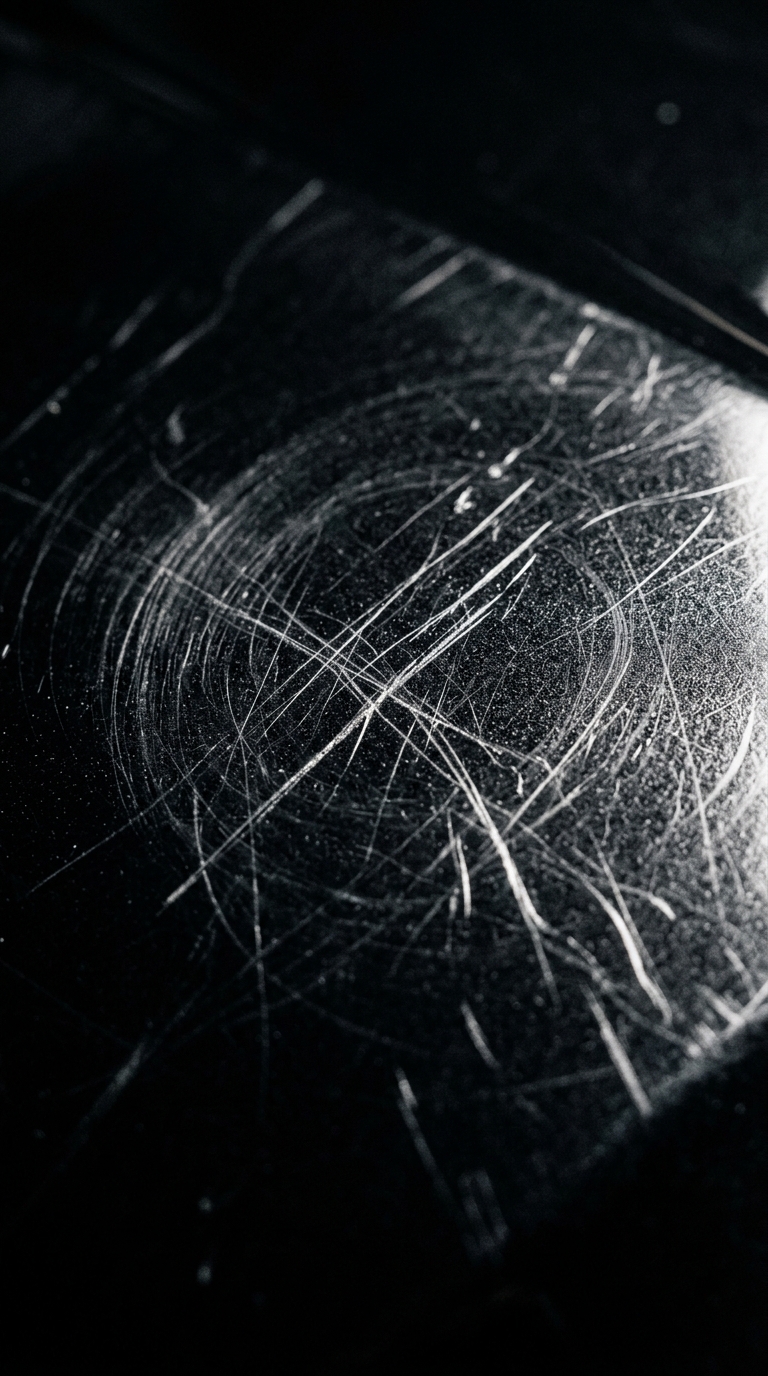
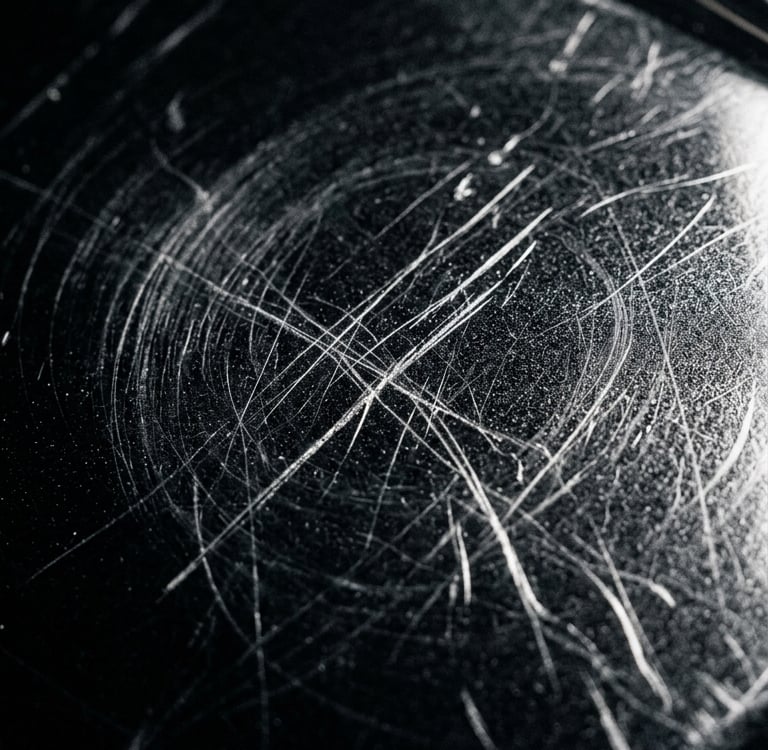
Every car develops swirl marks. They come from automatic car washes with dirty brushes, improper hand washing technique, cheap microfiber towels, and years of accumulated contact with abrasive surfaces. Under direct sunlight or artificial lighting they appear as a web of fine circular scratches across the paint surface that scatter light rather than reflecting it cleanly — the visual difference between a dull, hazy finish and a deep, mirror-like gloss.
The good news is that swirl marks are not in the paint itself. They are in the clear coat — the transparent protective layer sitting on top of the colour. Clear coat is approximately 50 to 100 microns thick and swirl marks typically only penetrate the top 2 to 5 microns. This means they can be mechanically leveled out using abrasive compounds and a machine polisher without touching the underlying paint at all.
A professional paint correction at a detail shop costs $300 to $800 depending on severity. The hardware to execute the same process at home costs under $150 and is reusable across every vehicle you own for years. This guide is the exact dual action polisher protocol for removing light to moderate swirl marks and restoring factory-deep gloss before the seasonal sealant application.
Phase 1: Defect Assessment & Surface Preparation
You cannot correct paint you have not properly evaluated. The severity of the defects dictates which compounds you need and how many passes are required. Attempting paint correction on a contaminated surface will induce new scratches while trying to remove existing ones.
The Lighting Inspection: Work in direct sunlight or under a single overhead work light. Shine the light across the surface at a low angle and rotate around the panel slowly. Swirl marks and light scratches will appear as a hazy web of fine lines. Deep scratches that catch your fingernail when you drag it across the surface cannot be removed by machine polishing alone — they require wet sanding and are outside the scope of this protocol. If your fingernail does not catch on the defect, it is within the correctable range.
The Decontamination Requirement: Paint correction must always be performed on a fully decontaminated surface. If you have not executed the Spring Decontamination Protocol — iron fallout removal, tar removal, clay bar decontamination, and IPA wipe-down — complete that process first. Running an abrasive compound over a surface that still has embedded iron particles or clay lubricant residue will drag those contaminants across the clear coat and create new scratches in the process of trying to remove old ones.
The Panel Sectioning: Never attempt to polish an entire car in one pass. Divide each panel into 18 by 18 inch working sections. Machine polishing generates heat through friction — working in small sections allows the compound to break down correctly and prevents the clear coat from overheating, which causes haze and product smearing.
Phase 2: The Compound Stage — Defect Removal
This is the cutting phase. A medium-cut compound removes the top layer of clear coat to a uniform depth below the scratches, effectively erasing them by leveling the surrounding surface down to match the scratch depth.
The Machine Setup: Attach a medium cut foam pad to your dual action polisher. A dual action polisher is mandatory for this protocol — rotary polishers generate significantly more heat and can burn through thin clear coat in seconds in the hands of an inexperienced operator. A dual action polisher oscillates and rotates simultaneously, spreading the heat evenly and making it safe for home use. Apply 3 to 4 pea-sized drops of medium cut compound directly to the pad — never spread it across the panel by hand before running the machine.
The Spread Pass: Set the machine to its lowest speed setting — typically 1 or 2 on a 1 to 6 scale. Place the pad flat against the panel and make 2 slow passes across the section to spread the compound evenly across the surface before increasing speed. This prevents compound from flinging off the pad and staining surrounding trim.
The Working Pass: Increase the machine to a medium working speed — typically 4 to 5. Work the compound across the section using overlapping passes in a crosshatch pattern — 4 horizontal passes followed by 4 vertical passes. Apply moderate downward pressure. You will see the compound begin to turn clear as it breaks down — this is the abrasive doing its work. Once the compound is nearly fully broken down and the section begins to appear clearer, make a final slow pass at low speed to level the residue before wiping.
The Inspection Wipe: Using a clean microfiber towel, wipe the section clean and inspect under direct light. The swirl marks should be significantly reduced or eliminated. If defects remain, repeat the compound stage on that section before moving to the polish stage. Never move to the finishing polish while visible defects remain — the finishing polish does not have enough cut to remove them.
Phase 3: The Finishing Polish — Gloss Restoration
The compound stage removes defects but leaves its own fine micro-scratches from the abrasive particles. The finishing polish uses a finer abrasive grade to remove the compound haze and bring the clear coat to its maximum optical clarity and gloss depth.
The Pad Swap: Remove the medium cut pad and replace it with a clean soft finishing foam pad. Never use the same pad for both compound and polish — residual compound on a finishing pad will reintroduce cutting scratches into a section you have already leveled. Keep dedicated pads for each product and prime new pads with a small amount of the finishing polish before beginning.
The Polish Application: Apply 3 to 4 pea-sized drops of finishing polish to the soft pad. Using the same crosshatch working pattern at medium speed, work the polish across each section until it breaks down to a near-clear residue. The clear coat will visibly transform as the polish works — the micro-haze left by the compound will disappear and a deep, wet-look gloss will emerge beneath the surface.
The Final Wipe: Using a clean, dry, high-GSM microfiber towel, wipe each section immediately after polishing before the residue dries on the surface. Dried polish residue is significantly harder to remove and can streak the finish. Flip the towel to a clean face for each panel. Under direct light the corrected panels should exhibit a uniform, deep reflective gloss with zero visible swirl marks or haze.
The IPA Wipe-Down: After completing all panels, perform a final isopropyl alcohol wipe-down across the entire vehicle. Polish oils and finishing residue left on the surface will prevent your sealant from bonding correctly — this step strips the surface completely clean and prepares it as a chemically bare substrate for the protection phase. This is the same IPA wipe-down from the Spring Decontamination Protocol and must not be skipped before sealant application.
The Expert Gear List
To execute this complete paint correction protocol, our team deploys the following professional-grade hardware and chemistry. All items are available on Amazon.
Disclosure: The Retrofit Routine is a participant in the Amazon Services LLC Associates Program. As an Amazon Associate, we earn from qualifying purchases at no additional cost to you.
Machine Polishing Hardware
DEWALT 20V MAX XR Variable Speed Polisher: A dual action polisher with variable speed control that makes machine polishing safe and accessible for home use. The dual action oscillating mechanism distributes heat evenly across the pad surface, eliminating the burn-through risk of a rotary polisher on thin factory clear coat. Variable speed allows precise control from the initial spread pass through to the finishing polish stage.
Lake Country HDO Foam Pad Kit: A matched set of medium cut and soft finishing foam pads engineered for dual action polisher use. Having dedicated pads for compound and polish is mandatory — cross-contamination between cutting and finishing products defeats the purpose of the two-stage correction process.
Compounds & Polish
Meguiar's Ultimate Compound: A professional-grade medium cut compound formulated to remove light to moderate swirl marks, water spots, and oxidation from clear coat surfaces without the aggressive cut of a heavy compound. Safe for use on all modern single-stage and clear coat paint systems. Breaks down cleanly under machine polishing without drying too fast or leaving excessive haze.
Meguiar's Ultimate Polish: The finishing stage product that follows the compound. Removes the micro-scratches and haze left by the compound stage and brings the clear coat to maximum gloss depth before sealant application. Contains fine diminishing abrasives that self-level as the machine works, eliminating the risk of over-polishing on softer paint systems.
Protection & Finishing
P&S Bead Maker Paint Protectant: The mandatory final step after paint correction. Applied as a spray sealant drying aid to the freshly corrected and IPA-wiped surface, it bonds directly to the bare clear coat and locks in the corrected finish with a high-gloss hydrophobic barrier. Skipping the sealant after correction leaves the freshly leveled clear coat completely unprotected and swirl marks will return within weeks.
The Rag Company Eagle Edgeless 500 GSM Microfiber: The mandatory wipe-down and finishing towel for both the compound and polish stages. 500 GSM pile depth provides the absorption needed to cleanly remove compound and polish residue without smearing. Edgeless construction is non-negotiable on freshly corrected clear coat where even minor edge contact induces visible scratches.
Contact
Questions? Reach out anytime, we’re here.
© 2026. All rights reserved.
Disclosure
The Retrofit Routine is a participant in the Amazon Services LLC Associates Program. As an Amazon Associate, we earn from qualifying purchases at no additional cost to you.
The Retrofit Routine is a digital property owned and operated by Atlantic Delivery Drivers Corp.