The Fluid Barrier Protocol: Professional Silicone Extrusion
Stop tolerating moldy, failing caulk. Learn the chemical removal and precision extrusion system to engineer a flawless, machine-perfect silicone seal every single time.
THE RETROFIT
2 min read
The highest failure point in a bathroom or kitchen is the localized fluid barrier. In a high-capacity household of six or seven people, standard caulking degrades rapidly under constant moisture exposure, creating micro-fissures that harbor mold and compromise the drywall. Most tolerate this failing infrastructure because traditional re-caulking is notoriously messy and yields smeared, unprofessional lines. To achieve a watertight finish, you must abandon the amateur "wet finger" method entirely. By executing the Fluid Barrier Protocol—a systematic approach to chemical extraction, surface preparation, and precision silicone extrusion—you will engineer a flawless, machine-perfect seal that permanently locks out moisture.
Phase 1: Chemical Extraction and Surface Prep
You cannot apply new silicone over failing caulk; it will instantly compromise the new seal.
The Mechanical Strip: Use a dedicated sealant removal tool to carve out the bulk of the legacy caulk. Avoid using standard utility knives, which can score your fiberglass tub or scratch premium tile.
The Chemical Eradication: Mechanical removal leaves a micro-film behind. Apply a specialized caulk remover gel to break down the remaining polymer bonds, then wipe the joint completely raw with denatured alcohol. The surface must be surgically clean before extrusion.
Phase 2: The Precision Extrusion System
The key to a flawless application is controlling the flow rate and utilizing 100% waterproof structural silicone.
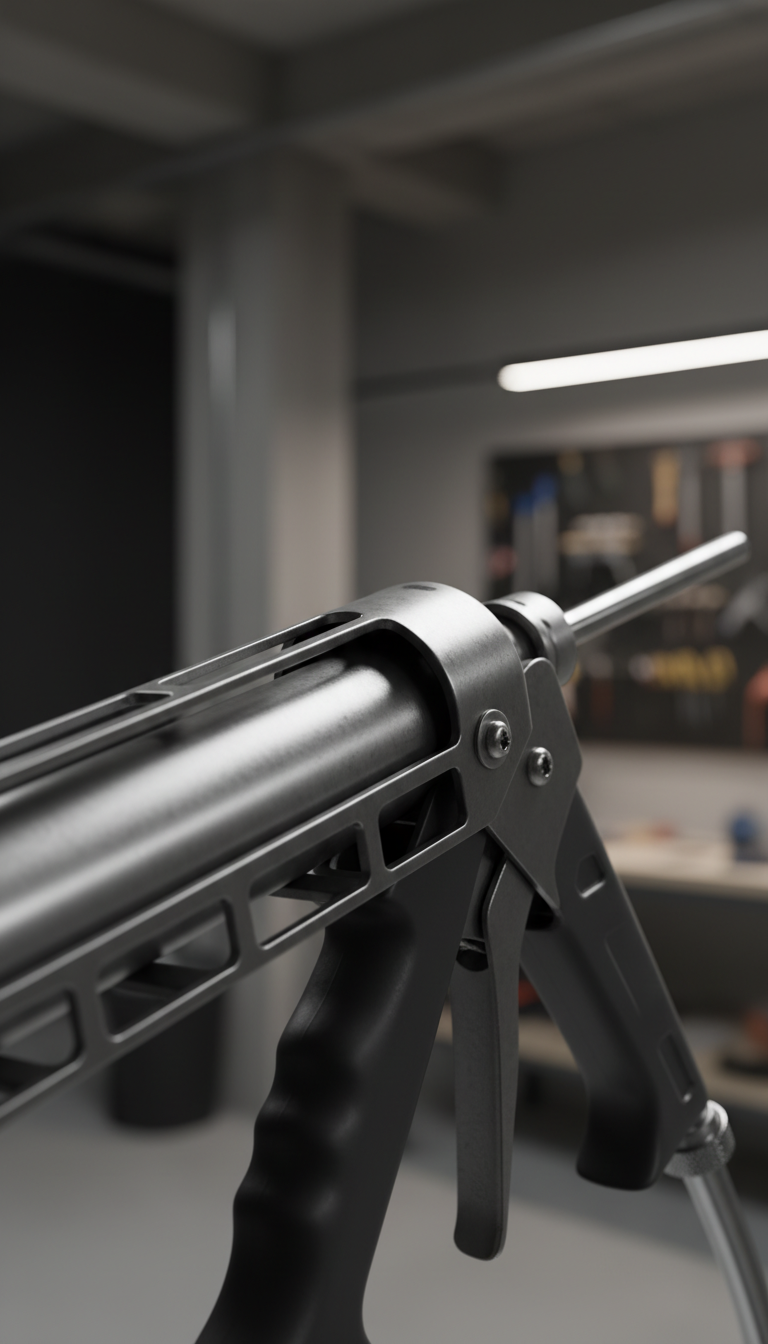
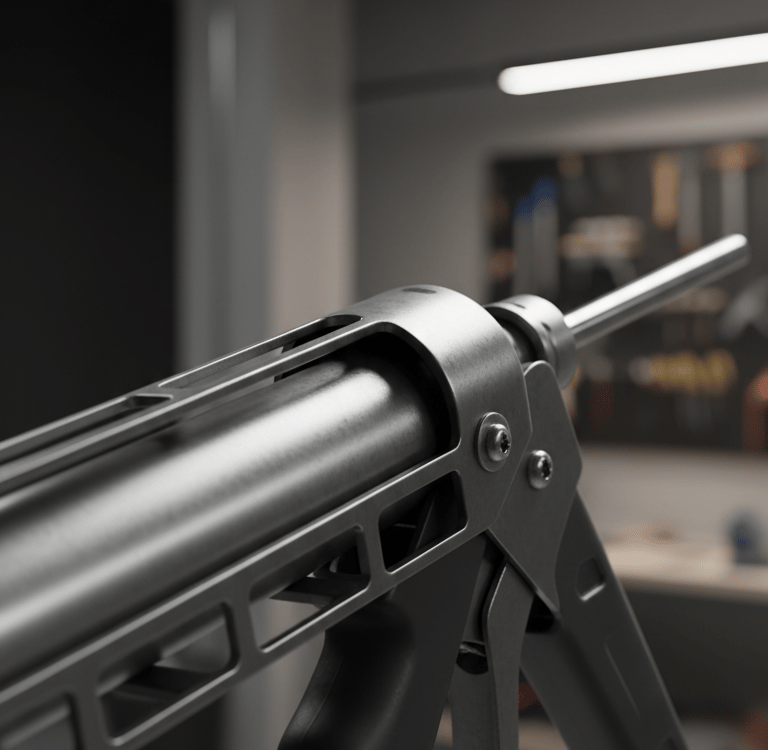
The Hardware Calibration: Load your cartridge into a high-thrust, drip-less caulk gun. A drip-less mechanism instantly retracts the rod when you release the trigger, giving you total control over the fluid output and eliminating chaotic messes.
The Application Bead: Cut the silicone nozzle at a precise 45-degree angle. Apply a consistent, unbroken bead directly into the apex of the joint, moving at a steady pace to prevent pooling.
Phase 3: The Mechanical Profile (Finishing)
This is where the system replaces the amateur approach. Do not touch the wet silicone with your finger, which introduces bacteria and creates a concave trough that holds standing water.
The Tool Selection: Select a rubber silicone profiling tool with the exact millimeter radius required for your specific joint depth.
The Strike: Hold the profiling tool at a rigid angle and pull it smoothly across the wet bead. The tool shears off the excess silicone and forces the remaining product deep into the joint, leaving behind a razor-sharp fluid barrier.
The Expert Gear List
To execute this fluid barrier replacement systematically, our team utilizes the following professional-grade hardware on Amazon.
Disclosure: The Retrofit is a participant in the Amazon Services LLC Associates Program. As an Amazon Associate, we earn from qualifying purchases at no additional cost to you.
Extraction & Preparation
Goo Gone Pro-Power Caulk Remover: A chemical solvent that safely breaks down the stubborn polymer bonds of legacy silicone without damaging surrounding fiberglass.
Allway Tools CT31 Caulk Tool: A professional-grade, bi-directional mechanical scraper. It features a rigid stainless steel blade that digs deep into the joint to shear out hardened legacy caulk without snapping under pressure or scoring your tile.
Extrusion & Profiling
Newborn 930-GTD Drip-Free Caulking Gun: A professional extrusion gun with automatic pressure release to eliminate run-on mess and provide absolute bead control.
Cramer Fugi Silicone Profiling Kit: Precision rubber profiles that force silicone deep into the joint and shear off excess for a razor-sharp, factory seal.
Contact
Questions? Reach out anytime, we’re here.
© 2026. All rights reserved.
Disclosure
The Retrofit Routine is a participant in the Amazon Services LLC Associates Program. As an Amazon Associate, we earn from qualifying purchases at no additional cost to you.
The Retrofit Routine is a digital property owned and operated by Atlantic Delivery Drivers Corp.