The Hot Tub Cover Care Protocol Cleaning and Protecting Your Spa Cover to Extend Its Service Life
A neglected spa cover is a deteriorating cover. Get the exact cleaning, conditioning, and UV protection protocol that keeps your hot tub cover sealed, structurally sound, and performing as a proper thermal barrier — season after season.
THE ROUTINE
6 min read
Your hot tub cover is doing two jobs simultaneously and failing at both when it is not maintained. On the exterior it is absorbing continuous UV radiation, atmospheric fallout, and seasonal weather cycling. On the interior it is exposed to chemical off-gassing, elevated humidity, and the corrosive vapour environment that hot tub water produces at operating temperature. Most spa owners treat the cover as a passive accessory — something that sits on the tub and gets wiped down occasionally when it looks dirty. The result is predictable: a cover that within two to three seasons has a cracked, faded exterior surface, a foam core that has absorbed moisture and doubled in weight, and seams that no longer seal properly against the tub lip.
A waterlogged cover is not just a maintenance failure — it is a utility cost. A foam core that has absorbed moisture loses its thermal insulation value. A cover that was originally rated at R-12 insulation and is now 60% saturated with water is performing at a fraction of its rated thermal resistance. Your heating system runs longer to maintain the operating temperature it would have held effortlessly with a dry, properly sealed cover. That runtime difference shows up on every utility bill through the entire swimming season.
The cover also fails as a safety barrier and an evaporation barrier as the vinyl degrades. Cracked and brittle vinyl allows moisture to migrate into the foam core, accelerating the saturation cycle. Failed seams allow chemical vapour to escape, contributing to the corrosion of nearby metal hardware. A properly maintained cover eliminates all of these failure modes for a fraction of the cost of a replacement.
This guide is the complete spa cover maintenance protocol — the cleaning sequence, the conditioning treatment, and the UV protection application that keeps the exterior vinyl supple, sealed, and structurally sound through years of continuous outdoor exposure.
Phase 1: The Cover Removal and Initial Assessment
Cover maintenance begins with the cover off the tub and positioned on a clean, flat surface where all four sides and both panels are fully accessible. Attempting to clean a cover in place on the tub results in cleaning chemistry running into the spa water and missing the underside surfaces entirely.
The Structural Inspection: Before cleaning, inspect the cover for the failure indicators that signal the cover needs replacement rather than maintenance. Press firmly on the centre of each foam panel — a properly dry foam core feels rigid and returns pressure immediately. A foam core that feels soft, compressible, or noticeably heavier on one side than the other has begun moisture absorption. Check the vinyl along the fold line where the two panels meet — this is the highest-stress zone on any cover and the first location where the vinyl cracks under UV degradation. Run your hand along the underside vapour barrier and check the seam integrity at the perimeter. Any tears, separations, or hardened sections in the vapour barrier allow humid tub air to contact the foam core directly and accelerate moisture absorption.
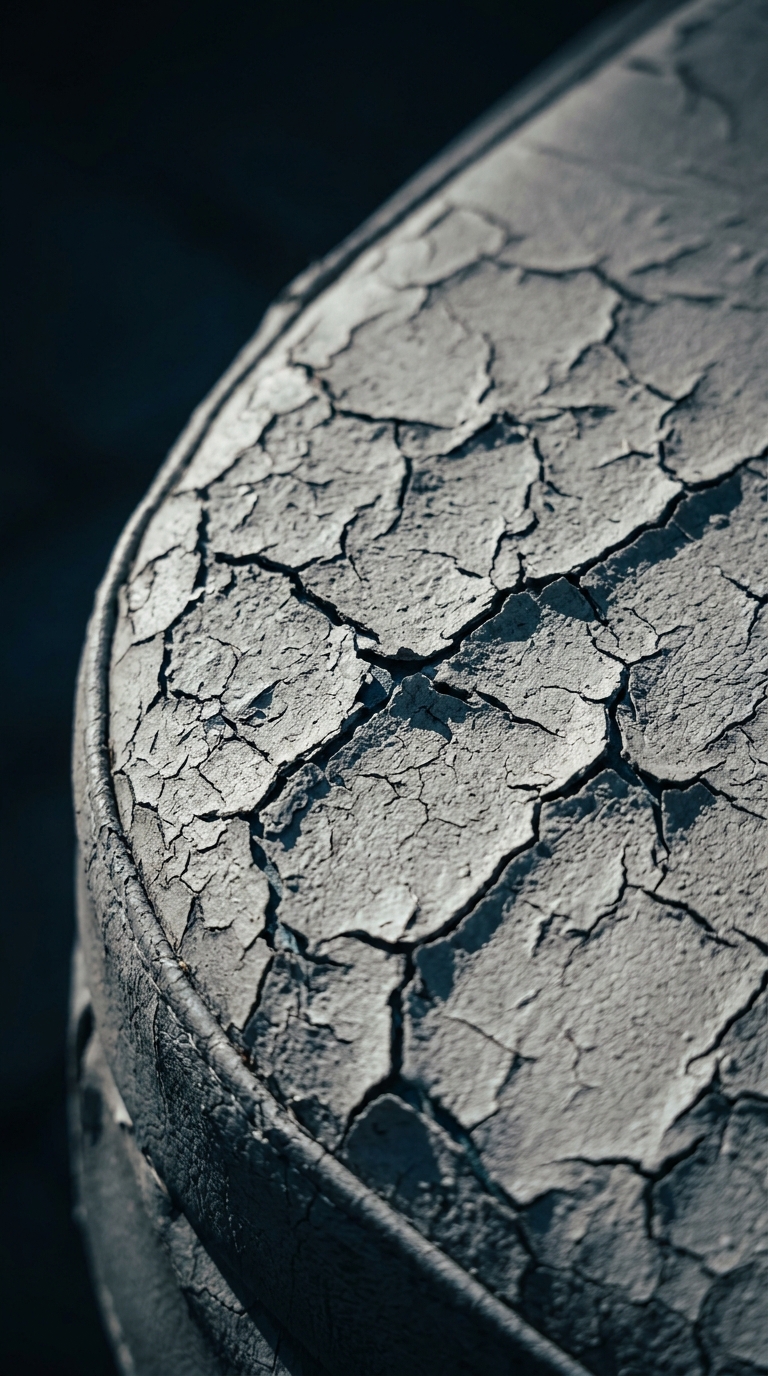
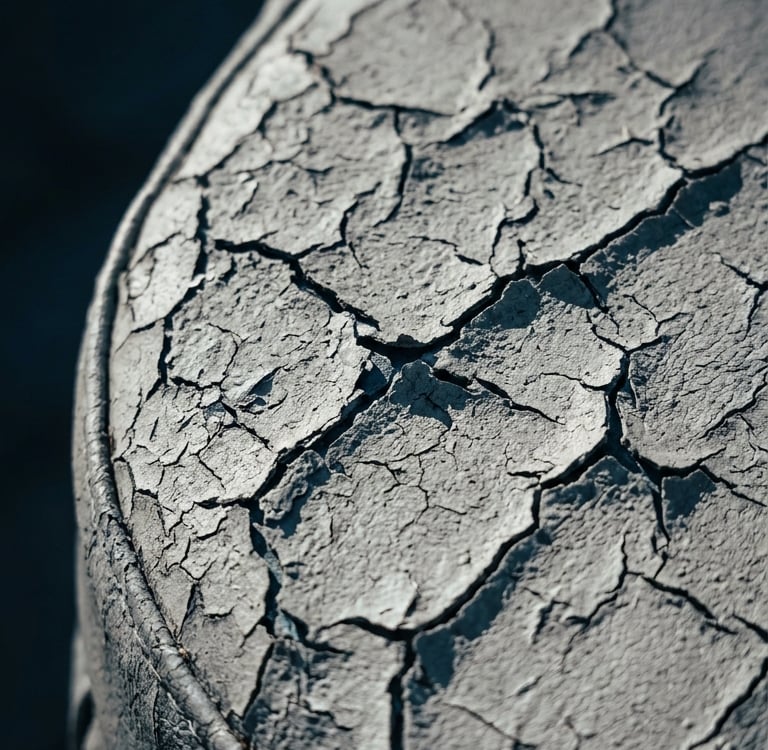
The Exterior Surface Assessment: Inspect the exterior vinyl for surface oxidation — a chalky, matte, slightly grey appearance that indicates the UV-protective plasticizer layer has depleted from the vinyl surface. This is the condition that precedes cracking and is fully reversible with a conditioning and UV protection treatment applied before the vinyl reaches the cracking stage. Oxidation that has progressed to visible surface cracking indicates a cover that is past the maintenance window and requires replacement.
Phase 2: The Cleaning Sequence — Exterior and Underside
The Exterior Wash: Mix a diluted solution of mild pH-neutral soap — the same car wash soap or a dedicated vinyl cleaner — and apply it to the exterior cover surface with a soft microfiber cloth or a low-pressure garden hose spray. Never use a high-pressure washer on a spa cover — the pressure forces water into the seams and stitching, driving moisture directly into the foam core and accelerating the saturation failure you are trying to prevent. Work the cleaning solution across the full exterior surface in straight passes, paying particular attention to the stitching lines where dirt and biological growth accumulate.
Avoiding the Wrong Chemistry: Never apply household all-purpose cleaners, bleach solutions, or petroleum-based products to vinyl spa covers. Bleach degrades vinyl plasticizers, accelerating the brittleness and cracking it is designed to prevent. Petroleum-based products swell vinyl and compromise the UV coating layer. A mild soap or dedicated vinyl cleaner is the only chemistry that cleans effectively without stripping the material that keeps the cover supple and sealed.
The Underside Protocol: The underside of a spa cover accumulates chemical residue, condensation deposits, and mildew from the constant humid vapour environment inside the tub. Wipe the underside with a damp cloth and a diluted mild cleaner, working along the vapour barrier seams where mildew concentrates. Rinse with clean water and allow to dry fully before the conditioning phase — any moisture trapped between the vapour barrier and the foam core during reconditioning accelerates the absorption cycle.
The Rinse and Dry: Rinse the exterior surface thoroughly with clean water to remove all soap residue. Soap residue left on vinyl attracts dirt, breaks down the UV coating layer over time, and prevents conditioning products from bonding correctly to the surface. Allow the cover to air dry completely — minimum 30 minutes in dry conditions — before applying any conditioner or protectant.
Phase 3: The Conditioning and UV Protection Application
Cleaning removes the contamination layer. Conditioning restores the plasticizers that keep vinyl supple. UV protection applies a surface barrier that prevents the solar radiation that depletes those plasticizers from reaching the vinyl itself. Both steps are required — conditioning without UV protection leaves the restored vinyl immediately exposed to the same degradation cycle. UV protection without conditioning applies a protective layer over already-depleted vinyl that continues to crack beneath the surface coating.
The Conditioning Application: Apply a dedicated spa cover conditioner and protectant to a clean, dry microfiber applicator or cloth. Work the product into the exterior vinyl surface in straight, overlapping passes, ensuring full coverage across both panels and along the fold line where UV stress is highest. The conditioner penetrates the vinyl surface and restores the plasticizer content that UV exposure and weathering deplete over time — this is what maintains the supple, flexible texture that prevents cracking under thermal cycling.
The UV Protection Layer: The same product in a combined conditioner-and-protectant formulation deposits a UV-blocking surface barrier over the conditioned vinyl as the carrier evaporates. This layer reflects UV radiation before it reaches the vinyl surface, significantly extending the interval between conditioning treatments and preventing the oxidation cycle from restarting within days of application. Apply a second pass along the fold line and the seam edges — the highest UV-stress zones — to ensure those areas receive full UV protection coverage.
The Dwell and Buff: Allow the conditioner-protectant to dwell on the surface for the time specified on the product label. Once the product has penetrated and any surface excess has dried to a slight haze, buff lightly with a clean, dry microfiber cloth to remove the residue and leave a clean, even surface finish. The cover should feel smooth and slightly tacky immediately after application — this confirms the conditioner has penetrated the surface rather than sitting on top of it. The tackiness dissipates within an hour as the product fully cures into the vinyl.
The Application Cadence: Apply the cover conditioner and UV protectant monthly through the active spa season and at the beginning and end of the off-season if the cover is stored rather than left on the tub. Monthly application maintains the plasticizer level in the vinyl above the threshold where oxidation and cracking begin. A cover that is only treated once at the start of the season will have depleted the conditioner layer within 60 to 90 days and will spend the remainder of the season in the unprotected oxidation cycle.
The Expert Gear List
To execute this complete spa cover cleaning and protection protocol, our team deploys the following product. All items are available on Amazon.
Disclosure: The Retrofit Routine is a participant in the Amazon Services LLC Associates Program. As an Amazon Associate, we earn from qualifying purchases at no additional cost to you.
Cover Care
AquaDoc Hot Tub Cover Protector — 16oz: A dedicated spa cover cleaner and protectant formulated to lift dirt, grime, oils, and everyday buildup from vinyl cover surfaces while conditioning the material and depositing a UV-blocking protective barrier. Applied monthly, it maintains the plasticizer content that keeps vinyl supple and sealed, prevents the oxidation and cracking that develops on unprotected covers within a single season, and extends the service life of the cover beyond what weathering alone would allow. Compatible with most vinyl and canvas spa and hot tub covers. Made in the USA.
Contact
Questions? Reach out anytime, we’re here.
© 2026. All rights reserved.
Disclosure
The Retrofit Routine is a participant in the Amazon Services LLC Associates Program. As an Amazon Associate, we earn from qualifying purchases at no additional cost to you.
The Retrofit Routine is a digital property owned and operated by Atlantic Delivery Drivers Corp.