The Windshield Visibility Protocol: Glass Decontamination & Water Repellent Deployment
Smeared wipers, hazy glass, and night driving glare are not wiper problems — they are glass contamination problems. Get the exact iron fallout removal, clay bar, and hydrophobic coating protocol to restore optical clarity and water-shedding performance to every piece of glass on your vehicle.
THE DETAIL
6 min read
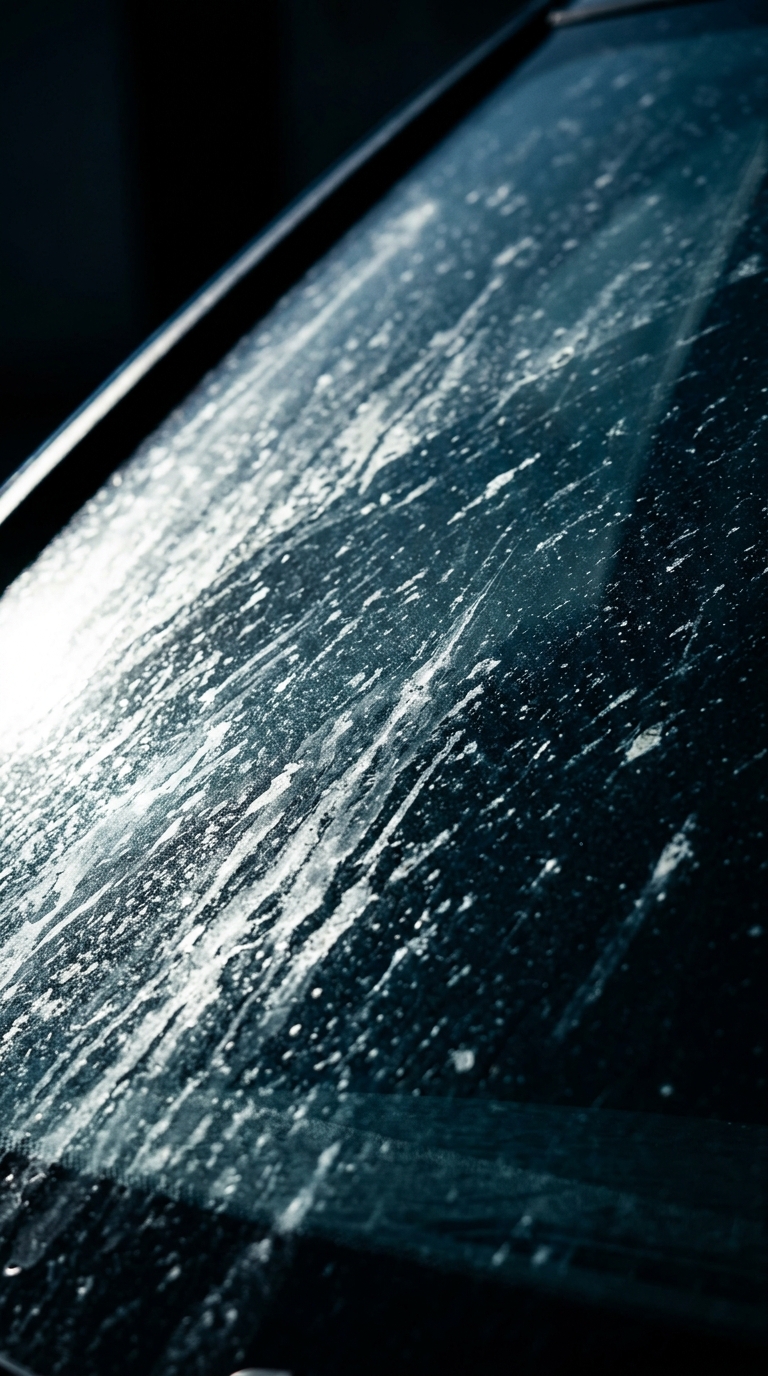
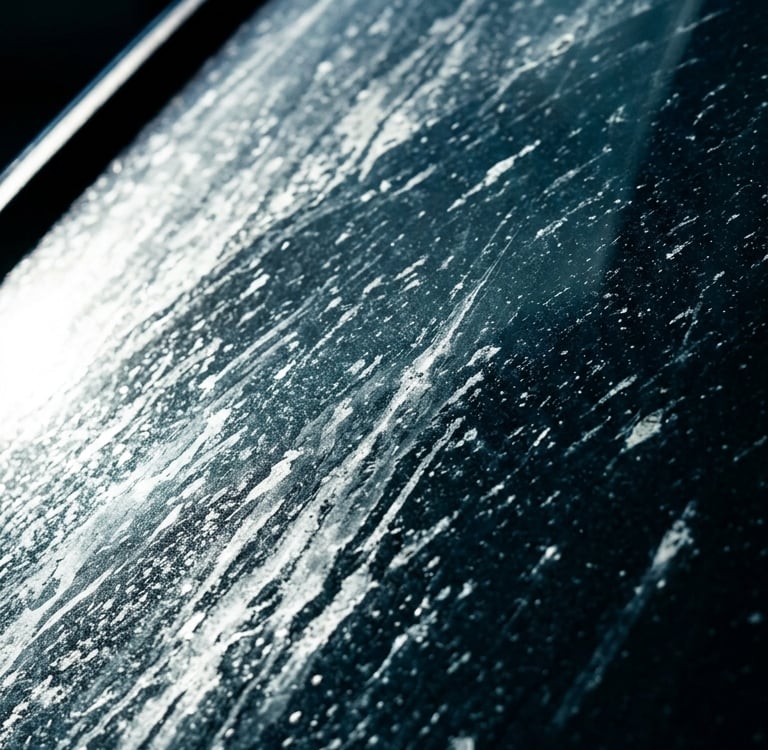
Your windshield is not clean. Even after a full exterior wash, the glass on your vehicle carries a layer of bonded contamination that a standard car wash will never remove — iron fallout from brake dust, a mineral film from hard water streaks, road film from exhaust and tire spray, and a micro-layer of silicone residue from cheap wiper fluid that builds up over every season. This contamination does three things. It causes wiper blades to skip, smear, and chatter across the glass rather than wiping it clean. It creates a blinding glare halo around oncoming headlights at night that dramatically reduces your reaction time. And it prevents hydrophobic coatings from bonding correctly to the glass surface, meaning any rain repellent you apply over contaminated glass will fail within days rather than lasting months.
Fixing your visibility is not a wiper blade problem. It is a glass decontamination problem. This guide is the exact three-phase protocol to strip every layer of bonded contamination off your vehicle's glass and deploy a professional-grade hydrophobic coating that causes rain to bead and sheet off at highway speed — restoring the kind of optical clarity that makes night driving and wet weather driving feel completely different.
Phase 1: Chemical Strip — Iron Fallout & Film Removal
The first and most commonly skipped step in any glass decontamination protocol is chemical fallout removal. The same iron particles that embed in your paint surface at brake level also deposit on your windshield from road spray and atmospheric fallout. Standard glass cleaners do not dissolve iron — they smear it.
The Iron Fallout Treatment: Spray a dedicated iron fallout remover across the entire exterior windshield surface, all side windows, and the rear glass. You will observe the same purple or red bleeding reaction visible on paint surfaces — this is the chelating chemistry actively dissolving embedded ferrous particles from the glass. Allow a full 2-minute dwell time. Do not allow the product to dry on the glass — if it begins to dry in direct sunlight, mist the surface with water to extend the dwell time. Rinse thoroughly with clean water.
The Water Spot & Mineral Film Removal: Hard water mineral deposits and silicone residue from wiper fluid create a hazy, smeared film that is alkaline in nature and requires an acidic chemistry to dissolve. Apply a dedicated water spot remover or white vinegar solution diluted 1:1 with distilled water to the glass surface using a clean microfiber applicator. Work in small sections using firm circular motions. The solution will fizz slightly on contact with heavy mineral deposits — this is the acid reacting with the calcium carbonate in the water spots. Wipe clean with a dry microfiber towel and inspect the glass for remaining haze before proceeding.
The Degreaser Pass: Before any mechanical decontamination, perform a final wipe-down of all glass surfaces with an isopropyl alcohol solution diluted 1:1 with distilled water. This strips any remaining chemical residue, wiper fluid silicone, and surface oils that would prevent the clay bar from making clean contact with the glass in the next phase.
Phase 2: Mechanical Decontamination — Glass Clay Bar
Even after a thorough chemical strip, glass surfaces retain micro-bonded contamination that chemical treatments cannot fully dissolve. The glass clay bar is the mechanical equivalent of the paint clay bar — it physically shears embedded particles off the glass surface without scratching the optical clarity of the glass itself. Never use a standard paint clay bar on glass. Glass-specific clay bars are formulated with a finer abrasive grade that is safe for optical surfaces.
The Lubrication Setup: Spray a generous layer of dedicated clay lubricant or diluted car wash soap across the entire glass surface before beginning. Glass clay barring requires even more lubrication than paint clay barring because glass has zero give — any reduction in the lubrication layer creates direct friction between the clay bar and the glass surface.
The Glass Clay Protocol: Working one section at a time, glide the glass clay bar across the lubricated surface using straight, overlapping passes with light to medium pressure. You will feel and hear the clay bar dragging and grabbing across contaminated sections — this is the clay shearing off the bonded particles. As you continue the passes, the clay bar will glide progressively smoother and quieter. Once the clay bar moves silently across the entire section with zero resistance, that section is fully decontaminated. Fold the clay bar to a clean face and continue to the next section.
The Post-Clay IPA Wipe: After completing all glass surfaces, wipe the entire glass down with a clean IPA solution. This removes all residual clay lubricant and prepares the glass as a chemically clean substrate for the hydrophobic coating application. This step is non-negotiable — any lubricant residue left on the glass will prevent the coating from bonding and will cause it to streak and fail within days.
The Optical Clarity Check: Before applying any coating, inspect the clean glass under direct light from multiple angles. The glass should appear completely clear with zero haze, smearing, or visible contamination. Any remaining haze indicates a contamination layer that requires an additional chemical or mechanical pass before the coating is applied.
Phase 3: Hydrophobic Coating Deployment — Rain Repellent Application
This is the phase that transforms the glass from clean to actively repellent. A properly applied hydrophobic glass coating does not just repel water — it changes the physics of how your glass interacts with rain entirely. Above 45 to 50 miles per hour, water droplets hitting a coated windshield do not pool — they are immediately flattened by the airstream and sheet horizontally off the glass without the wipers needing to run at all.
The Application Method: Apply the hydrophobic coating to a clean foam applicator pad — never directly onto the glass. Work the coating into the glass surface using firm, overlapping circular motions across one section at a time. The coating will appear to smear and haze across the glass as you apply it — this is correct. The coating requires a brief flash time of 1 to 3 minutes before it can be buffed.
The Flash and Buff: Once the coating has flashed and appears as a uniform haze across the section, buff it off using a clean, dry, lint-free microfiber towel. Use straight passes rather than circular motions during the buff phase to avoid streaking. Flip the towel to a clean face for the final wipe. The glass should be completely clear, streak-free, and visibly more hydrophobic immediately after buffing — water droplets beading on the surface even at rest confirms correct application.
The Wiper Blade Prep: Apply a small amount of the hydrophobic coating to a folded microfiber towel and run it firmly along the rubber edge of each wiper blade. This removes the oxidized rubber residue and silicone buildup that causes wiper chatter, and conditions the blade edge to work cleanly on the newly coated glass. Replace any wiper blades that are cracked, torn, or visibly degraded — no amount of glass treatment compensates for a damaged wiper blade.
The Cure Window: Allow the hydrophobic coating to cure for a minimum of 12 hours before the vehicle is exposed to rain. Do not wash the vehicle for 48 hours after application. The coating achieves full hydrophobic performance after a 24-hour cure and will maintain peak water-shedding performance for 3 to 6 months depending on exposure conditions and wash frequency.
The Expert Gear List
To execute this complete windshield visibility protocol, our team deploys the following professional-grade chemistry and tools. All items are available on Amazon.
Disclosure: The Retrofit Routine is a participant in the Amazon Services LLC Associates Program. As an Amazon Associate, we earn from qualifying purchases at no additional cost to you.
Chemical Decontamination
Iron X Iron Remover by CarPro: The professional standard for ferrous fallout removal from glass surfaces. The color-change reaction confirms active chemistry on both paint and glass. The same product used in the Spring Decontamination Protocol — one bottle covers the full exterior glass treatment and a complete paint decontamination simultaneously.
Meguiar's Water Spot Remover: A dedicated acidic formula engineered to dissolve hard water mineral deposits and silicone film from glass surfaces. Removes the hazy, smeared contamination layer that standard glass cleaners cannot touch and that causes the blinding night driving glare effect on aging windshields.
Slick Products Streak-Free Glass Cleaner: A dedicated, ammonia-free automotive glass formula engineered to dissolve the outgassed plasticizer film and oily smudges that standard household cleaners simply smear. It is completely safe on aftermarket interior window tints, chrome trim, and mirrors. Delivered in a ready-to-use trigger spray with a blue agave scent, it leaves a streak-free optical finish that is mandatory for eliminating blinding night-driving glare caused by interior windshield buildup.
Mechanical Decontamination
Chemical Guys Heavy Duty Clay Bar and Luber Kit: The clay bar and lubricant kit used across multiple protocols in this library. The medium-grade clay bar is safe for glass surfaces and removes the final layer of mechanically bonded contamination that chemical treatments cannot fully dissolve.
Hydrophobic Protection
Rain-X Original Glass Treatment: The original and most proven hydrophobic glass coating available. Bonds directly to clean, IPA-prepped glass to create a water-shedding surface that causes rain to bead and sheet off at highway speed. A single application takes under 10 minutes and provides 3 months of active rain repellency on a properly decontaminated surface.
The Rag Company Eagle Edgeless 500 GSM Microfiber: The mandatory finishing towel for both the post-clay wipe-down and the hydrophobic coating buff. Lint-free construction is critical for glass work — any lint deposited on the glass during the buff phase will be sealed under the hydrophobic coating and is visible under direct light.
Contact
Questions? Reach out anytime, we’re here.
© 2026. All rights reserved.
Disclosure
The Retrofit Routine is a participant in the Amazon Services LLC Associates Program. As an Amazon Associate, we earn from qualifying purchases at no additional cost to you.
The Retrofit Routine is a digital property owned and operated by Atlantic Delivery Drivers Corp.