Thermal Extraction: Manufacturing Clarified Butter (Ghee) at Scale
Stop overpaying for retail-priced cooking fats. Learn the thermal extraction workflow to strip bulk butter of its milk solids, yielding a shelf-stable, high-smoke-point oil essential for high-capacity protein searing. How to make ghee? Learn the science and process behind thermal extraction of ghee.
THE ROUTINE
2 min read
In a high-capacity kitchen, your cooking fat is a critical logistical component. If you are searing large batches of chicken or kebabs to feed a full household, standard butter will burn, and cheap seed oils will degrade under high heat. Clarified butter, or ghee, is the ultimate high-performance cooking fat—but buying it in tiny retail jars destroys your grocery overhead.
The solution is an extremely DIY, grassroots manufacturing process: thermal extraction. By applying controlled heat to bulk-purchased unsalted butter, you can manually strip away the water and milk solids, leaving behind pure, golden butterfat that is completely shelf-stable and boasts a massive 450°F smoke point. Here is the standard operating procedure for extracting your own high-yield cooking fat.
Phase 1: The Thermal Breakdown
You are breaking an emulsion. Start with at least two to four pounds of high-quality, unsalted butter to make the labor yield worthwhile.
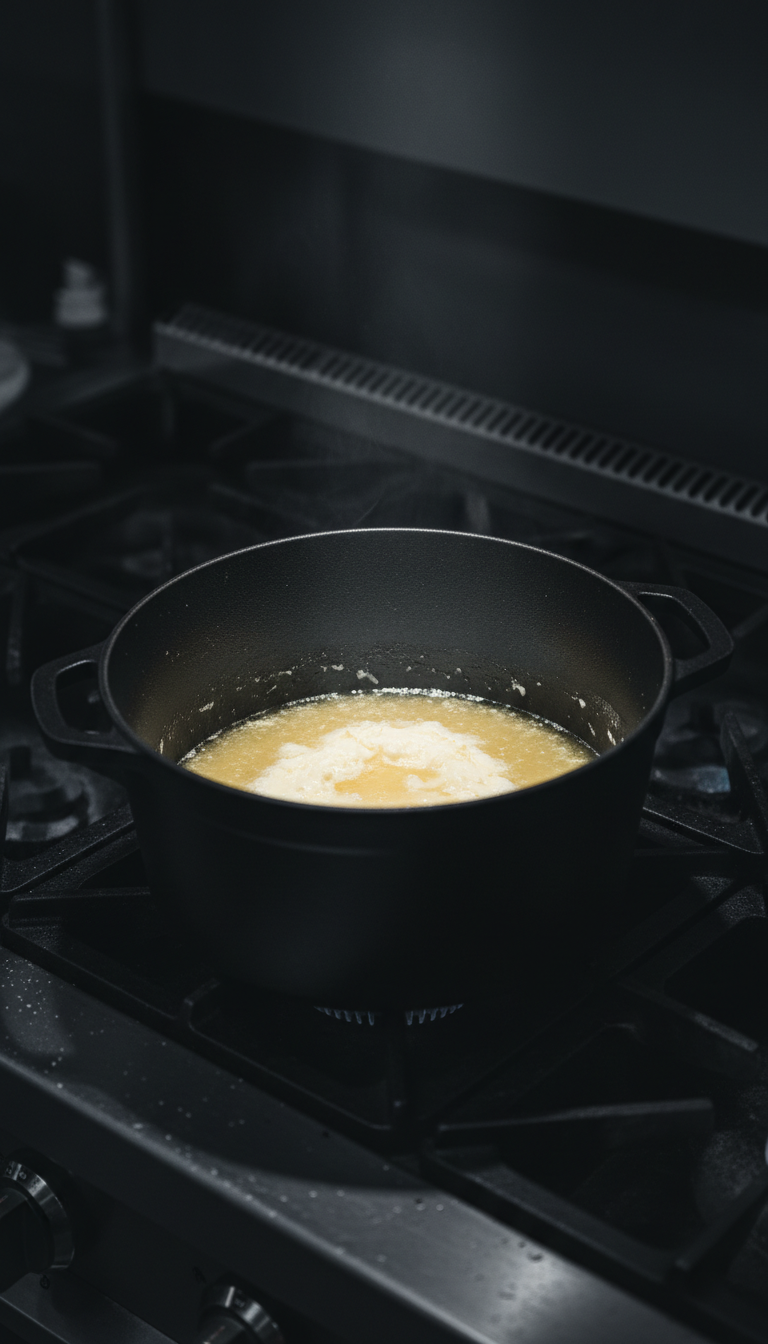
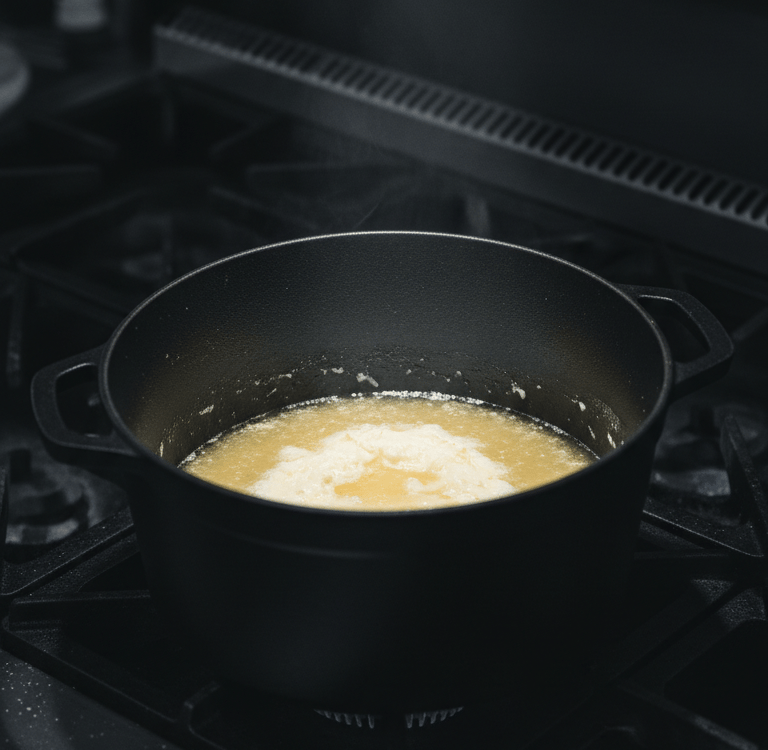
The Melt: Place the bulk butter into a heavy-bottomed pot over medium-low heat. Do not rush this. As the butter melts, it will separate into three distinct layers: water at the bottom, pure butterfat in the middle, and a thick, white foam of whey proteins rising to the top.
The Evaporation: Once fully melted, the liquid will begin to bubble. This is the water content physically boiling off. Keep the heat low to prevent violent splattering.
Phase 2: The Maillard Reaction (Ghee Conversion)
This is the technical difference between standard clarified butter and traditional ghee.
The Toast: As the water evaporates, the bubbling will quiet down, and the white milk solids will begin to sink to the bottom of the pot.
The Amber Shift: Watch the pot surgically. Those sunken milk solids will begin to toast, triggering the Maillard reaction. The liquid will shift from pale yellow to a deep, translucent amber, and it will emit a distinct, nutty aroma. The moment this happens, kill the heat immediately to prevent the solids from burning and ruining the entire batch.
Phase 3: Precision Filtration and Storage
You now have pure, liquid gold mixed with toasted debris. The final step is mechanical filtration.
The Gravity Filter: Line a fine-mesh strainer with a double layer of professional-grade cheesecloth. Place it over a heavy-duty glass storage container.
The Pour: Slowly pour the hot liquid through the filtration matrix. The cheesecloth will trap 100% of the toasted milk solids, allowing only the pure, crystallized fat to flow into your inventory jars.
Storage: Let it cool uncovered at room temperature until it solidifies into a semi-opaque paste. Because all water and dairy proteins have been extracted, this fat is now entirely shelf-stable and does not require refrigeration.
The Expert Gear List
To execute this extraction protocol without wasting raw materials, our team utilizes the following professional-grade hardware on Amazon.
Disclosure: The Retrofit is a participant in the Amazon Services LLC Associates Program. As an Amazon Associate, we earn from qualifying purchases at no additional cost to you.
Thermal Control
Lodge Enameled Cast Iron Dutch Oven (6 Quart): Heavy thermal mass is required for this extraction. Thin pots create hot spots that will scorch your milk solids. This cast iron core ensures slow, perfectly even heat distribution.
Filtration & Yield
Olicity Grade 90 Cheesecloth: The highest density filtration fabric available. Lower-grade cloths will let micro-particles slip through, which compromises the shelf life of your final yield.
Ball Wide Mouth Mason Jars (32 oz): Heavy-duty borosilicate glass designed to handle the thermal shock of pouring near-boiling fat. The wide mouth allows for easy scooping during your weekly high-volume meal prep.
Contact
Questions? Reach out anytime, we’re here.
© 2026. All rights reserved.
Disclosure
The Retrofit Routine is a participant in the Amazon Services LLC Associates Program. As an Amazon Associate, we earn from qualifying purchases at no additional cost to you.
The Retrofit Routine is a digital property owned and operated by Atlantic Delivery Drivers Corp.